


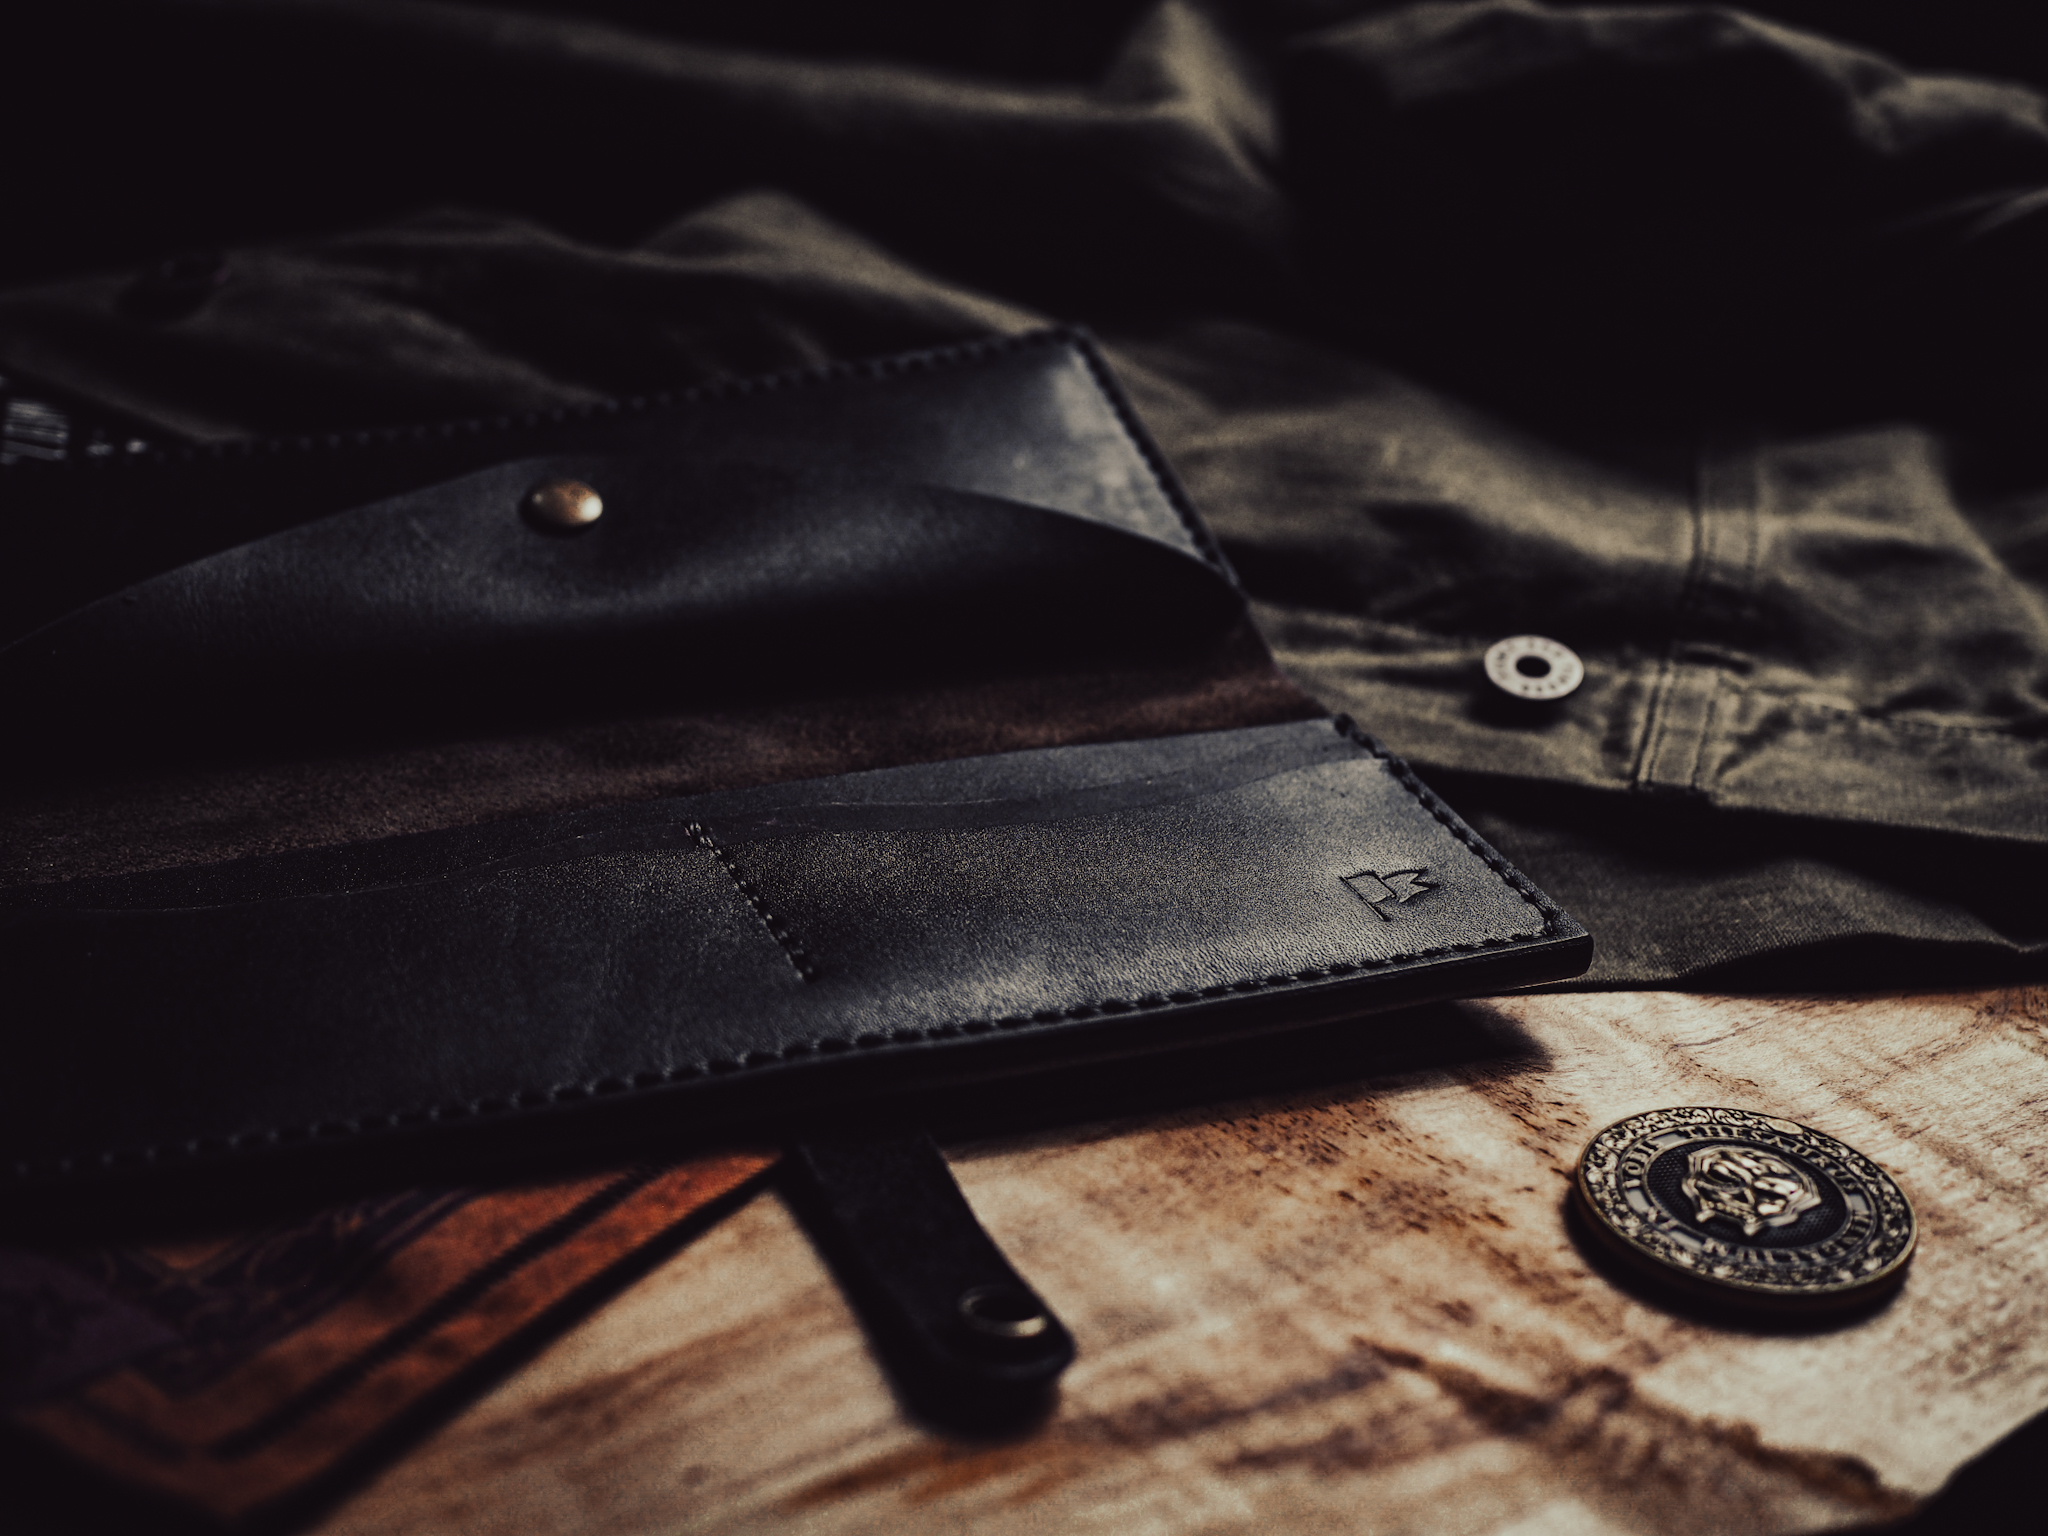
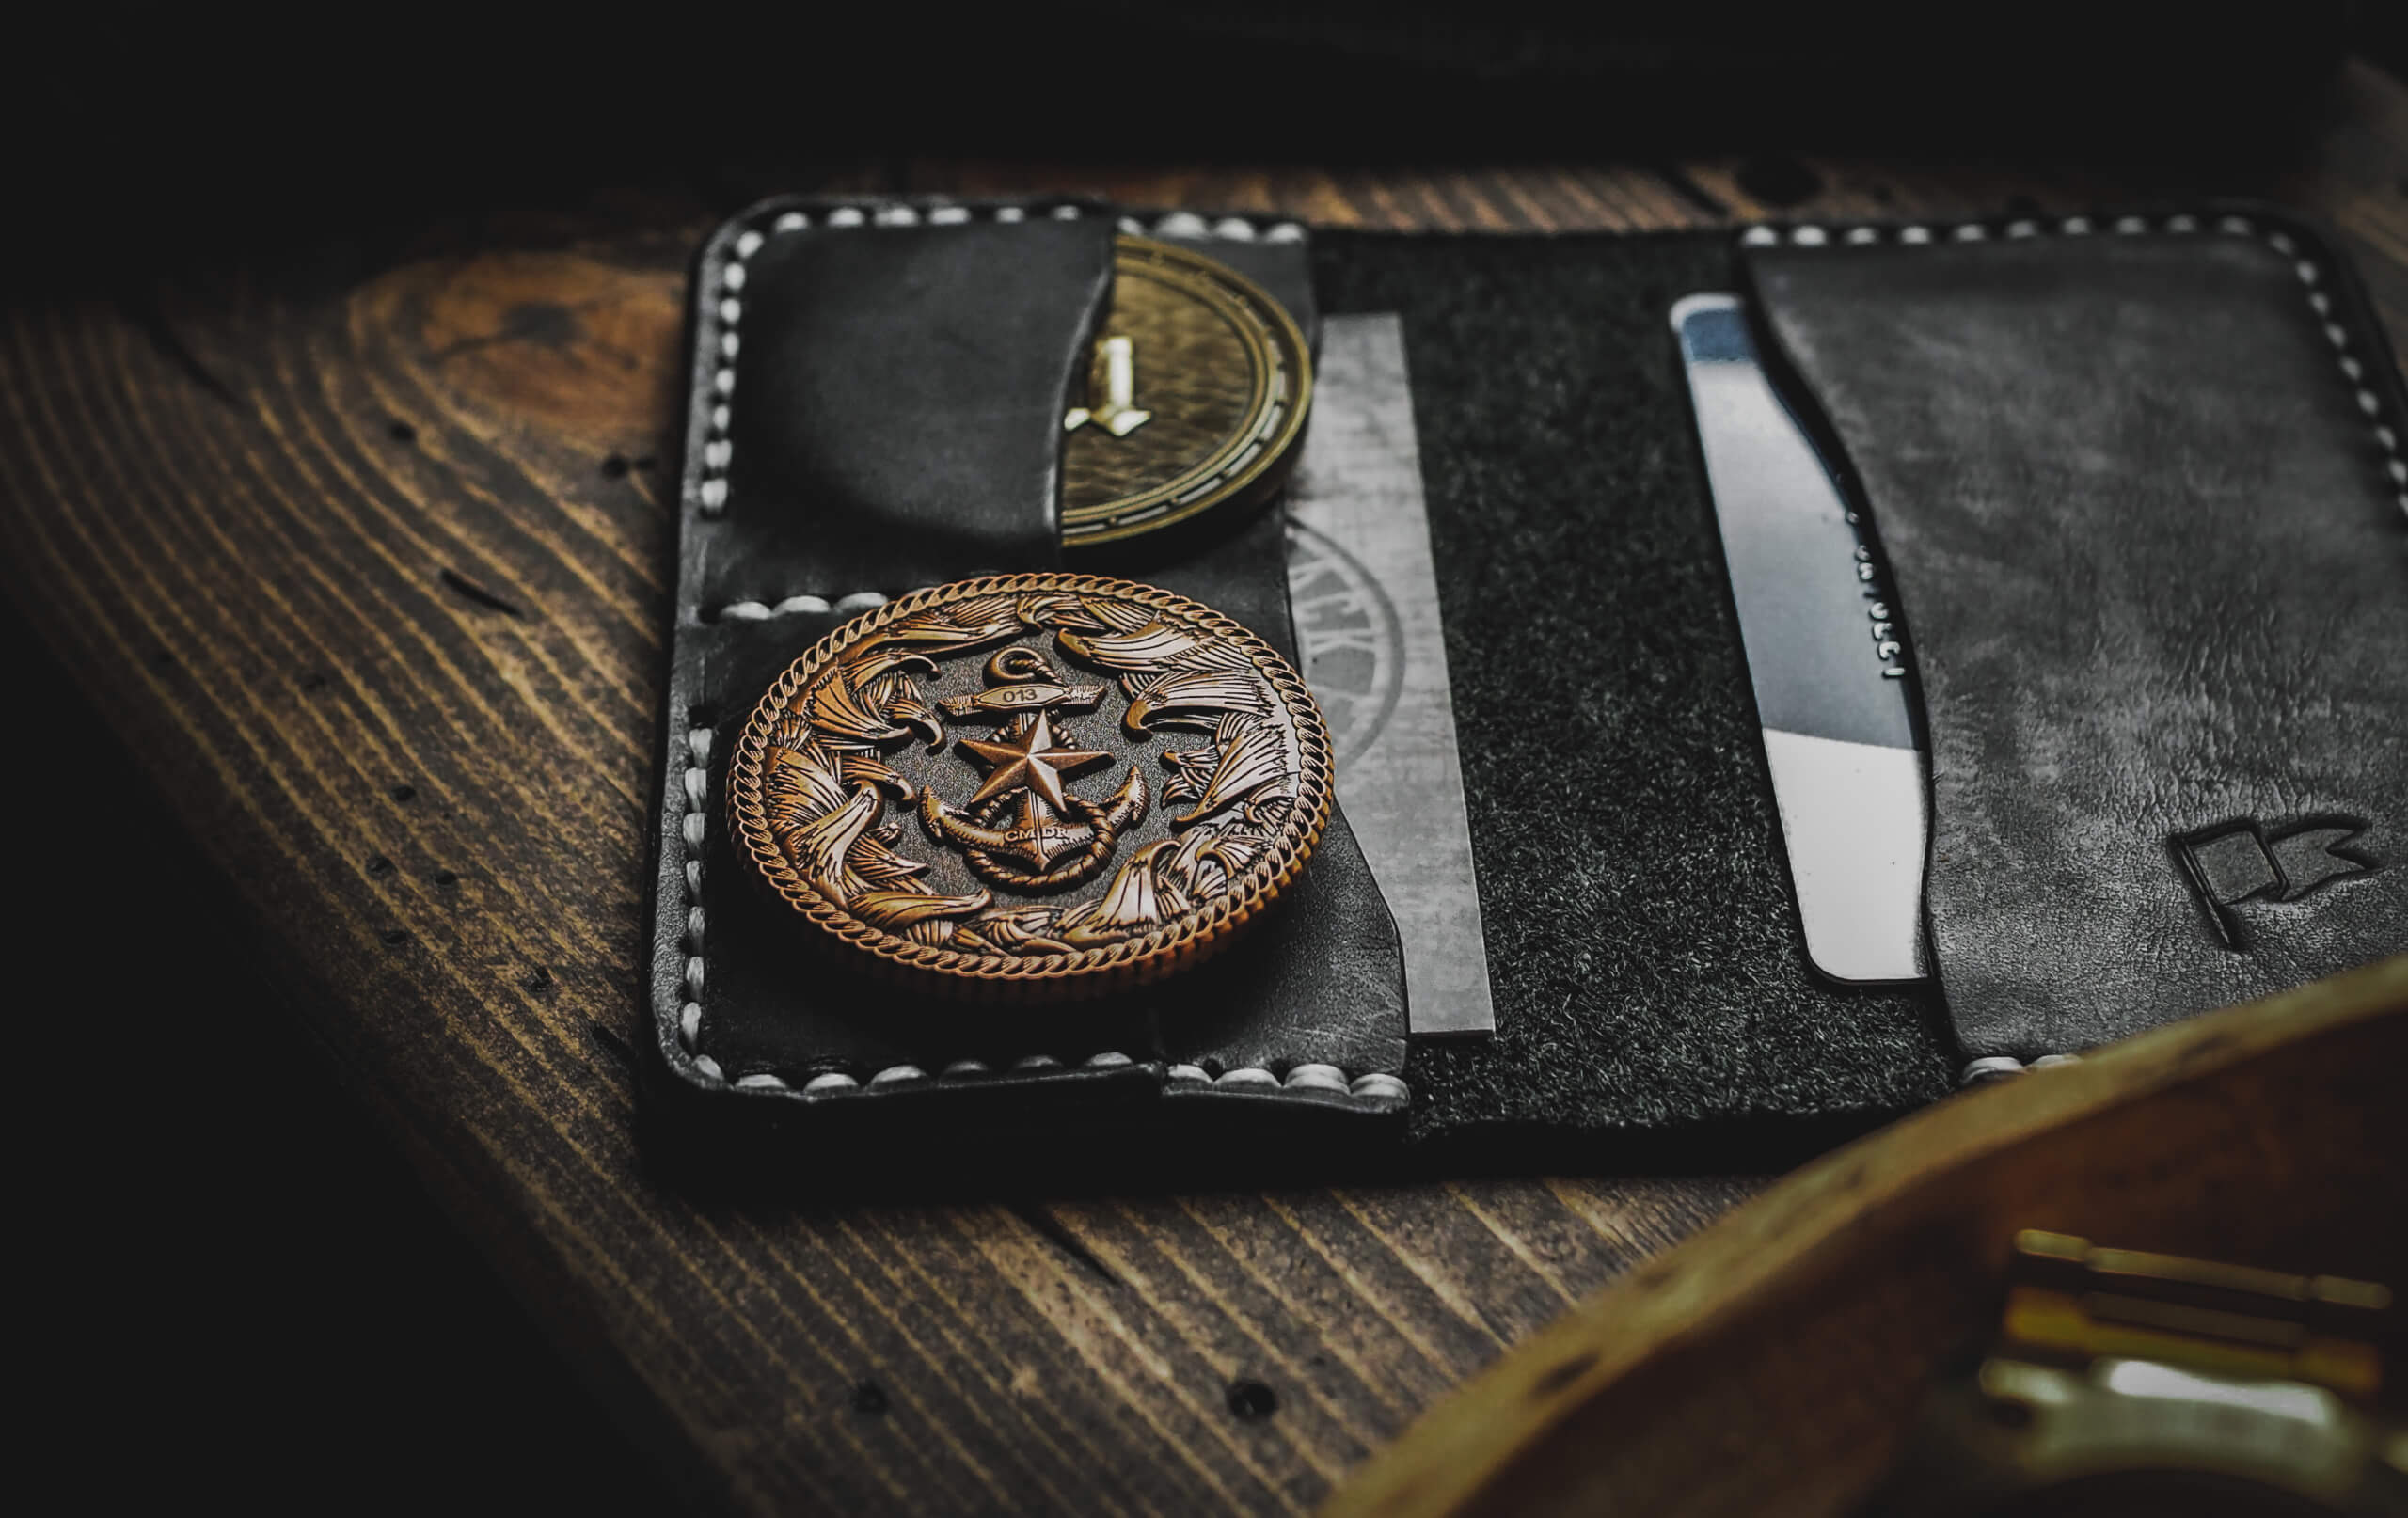
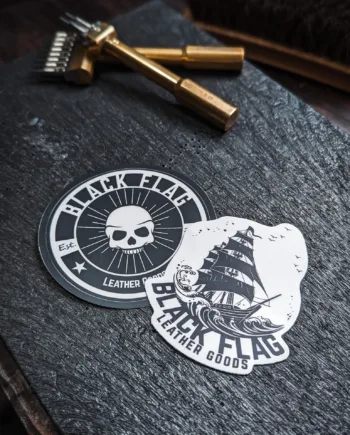
Why I Chose These 3 Leather Craft Tips
Like I said in the video, these aren’t game-enders if you aren’t doing them. These are just a few leather craft tips that will give you an edge over someone who isn’t using them (assuming your work is on the same level). These aren’t going to instantly make you the next Stock & Barrel or Little King Goods. There is just something so satisfying, though, about crisp, shiny, well-burnished edges, and a beautiful-feeling leather.
If you aren’t employing these methods, I urge you to give it a shot.
Use Multiple Passes with Your Knife
I discovered this one while trying to cut out parts for 2 bags using 7 oz leather. There were a lot of pieces and I ended up with a couple jagged edges I had to correct after the fact. If you’re using thick leather, as long as you have a sharp knife and keep your ruler in the same space, you can make the cut in several passes. The leather will warp less as it is under less pressure and your forearm will be happier if you have a bunch of pieces to cut out.
Making sure your knife is razor sharp is imperative to leather craft anyway. A simple strop before you cut anything will make sure you don’t have to deal with sharpening it as often. Bonus points if you buy some jeweler’s rouge to put on your strop. This will give that knife edge a mirror finish. Here are a couple links if you’re so inclined:
Strop: https://amzn.to/3KQc8zi
Rouge: https://amzn.to/3G9hceD
Use More Than 1 Grit of Sand Paper
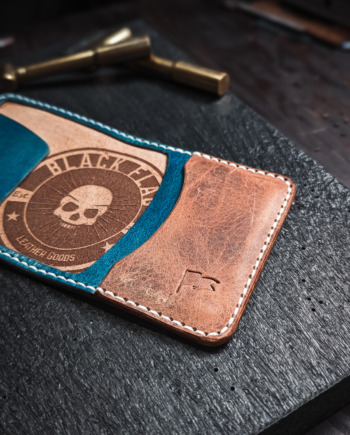
This is one that I often see from newer leather workers! If you want nice, crispy, beautiful edges, you need to sand them properly. There’s no way around it. Even if you have a sander/burnisher machine, you will need to put in some elbow grease sanding by hand. It’s just the way it is. If you take away only a single one of these leather craft tips, make it this one!
How to PROPERLY Sand Leather Edges for Burnishing
(There are a lot of ways that could be considered proper, this is just how I do it and I get a pretty decent result)
- Rough Sand – You need to have it cut evenly to begin with, then start at around 120 grit (I do this stage on the Burnishing Machine)
- Bevel – The rough sanding puts a little bit of and edge on the leather which makes it perfect for beveling here
- Start Hand Sanding – Now we put in work. Start at your next grit up and sand down all edges. You don’t need to press too hard.
- Work Your Way Up – Go through your grits one at a time sanding every edge until you get to your final grit (I normally stop at 800 but I’ll go to 3000 sometimes if I want it extra shiny)
- Burnish – Once you hit your destination sand paper grit, you can burnish. Use your wood slicker or Burnishing Machine at this stage. If you are using the Grog Marker and Tokonole Trick, go ahead and use those here, otherwise do a quick burnish with only water and then start burnishing with Tokonole
- More Sanding – Once I finish burnishing the leather, I go back one or two grits and sand it again working my way back up to the destination grit (the Tokonole should be dry from the burnishing process before you sand it)
- Burnish With Canvas – Now Re-burnish it, this time using a canvas cloth. Once you’re done this, you should have a gorgeous leather edge, but you can repeat steps 6 and 7 ad infinitum if you want to get shinier
Sanding and Burnishing Is a Lot of Work
I know all of this may seem excessive, but this is the reason handmade leather goods sell for a premium price. Don’t sell yourself short. Put in the work and sell for what it’s worth. People will pay for quality.
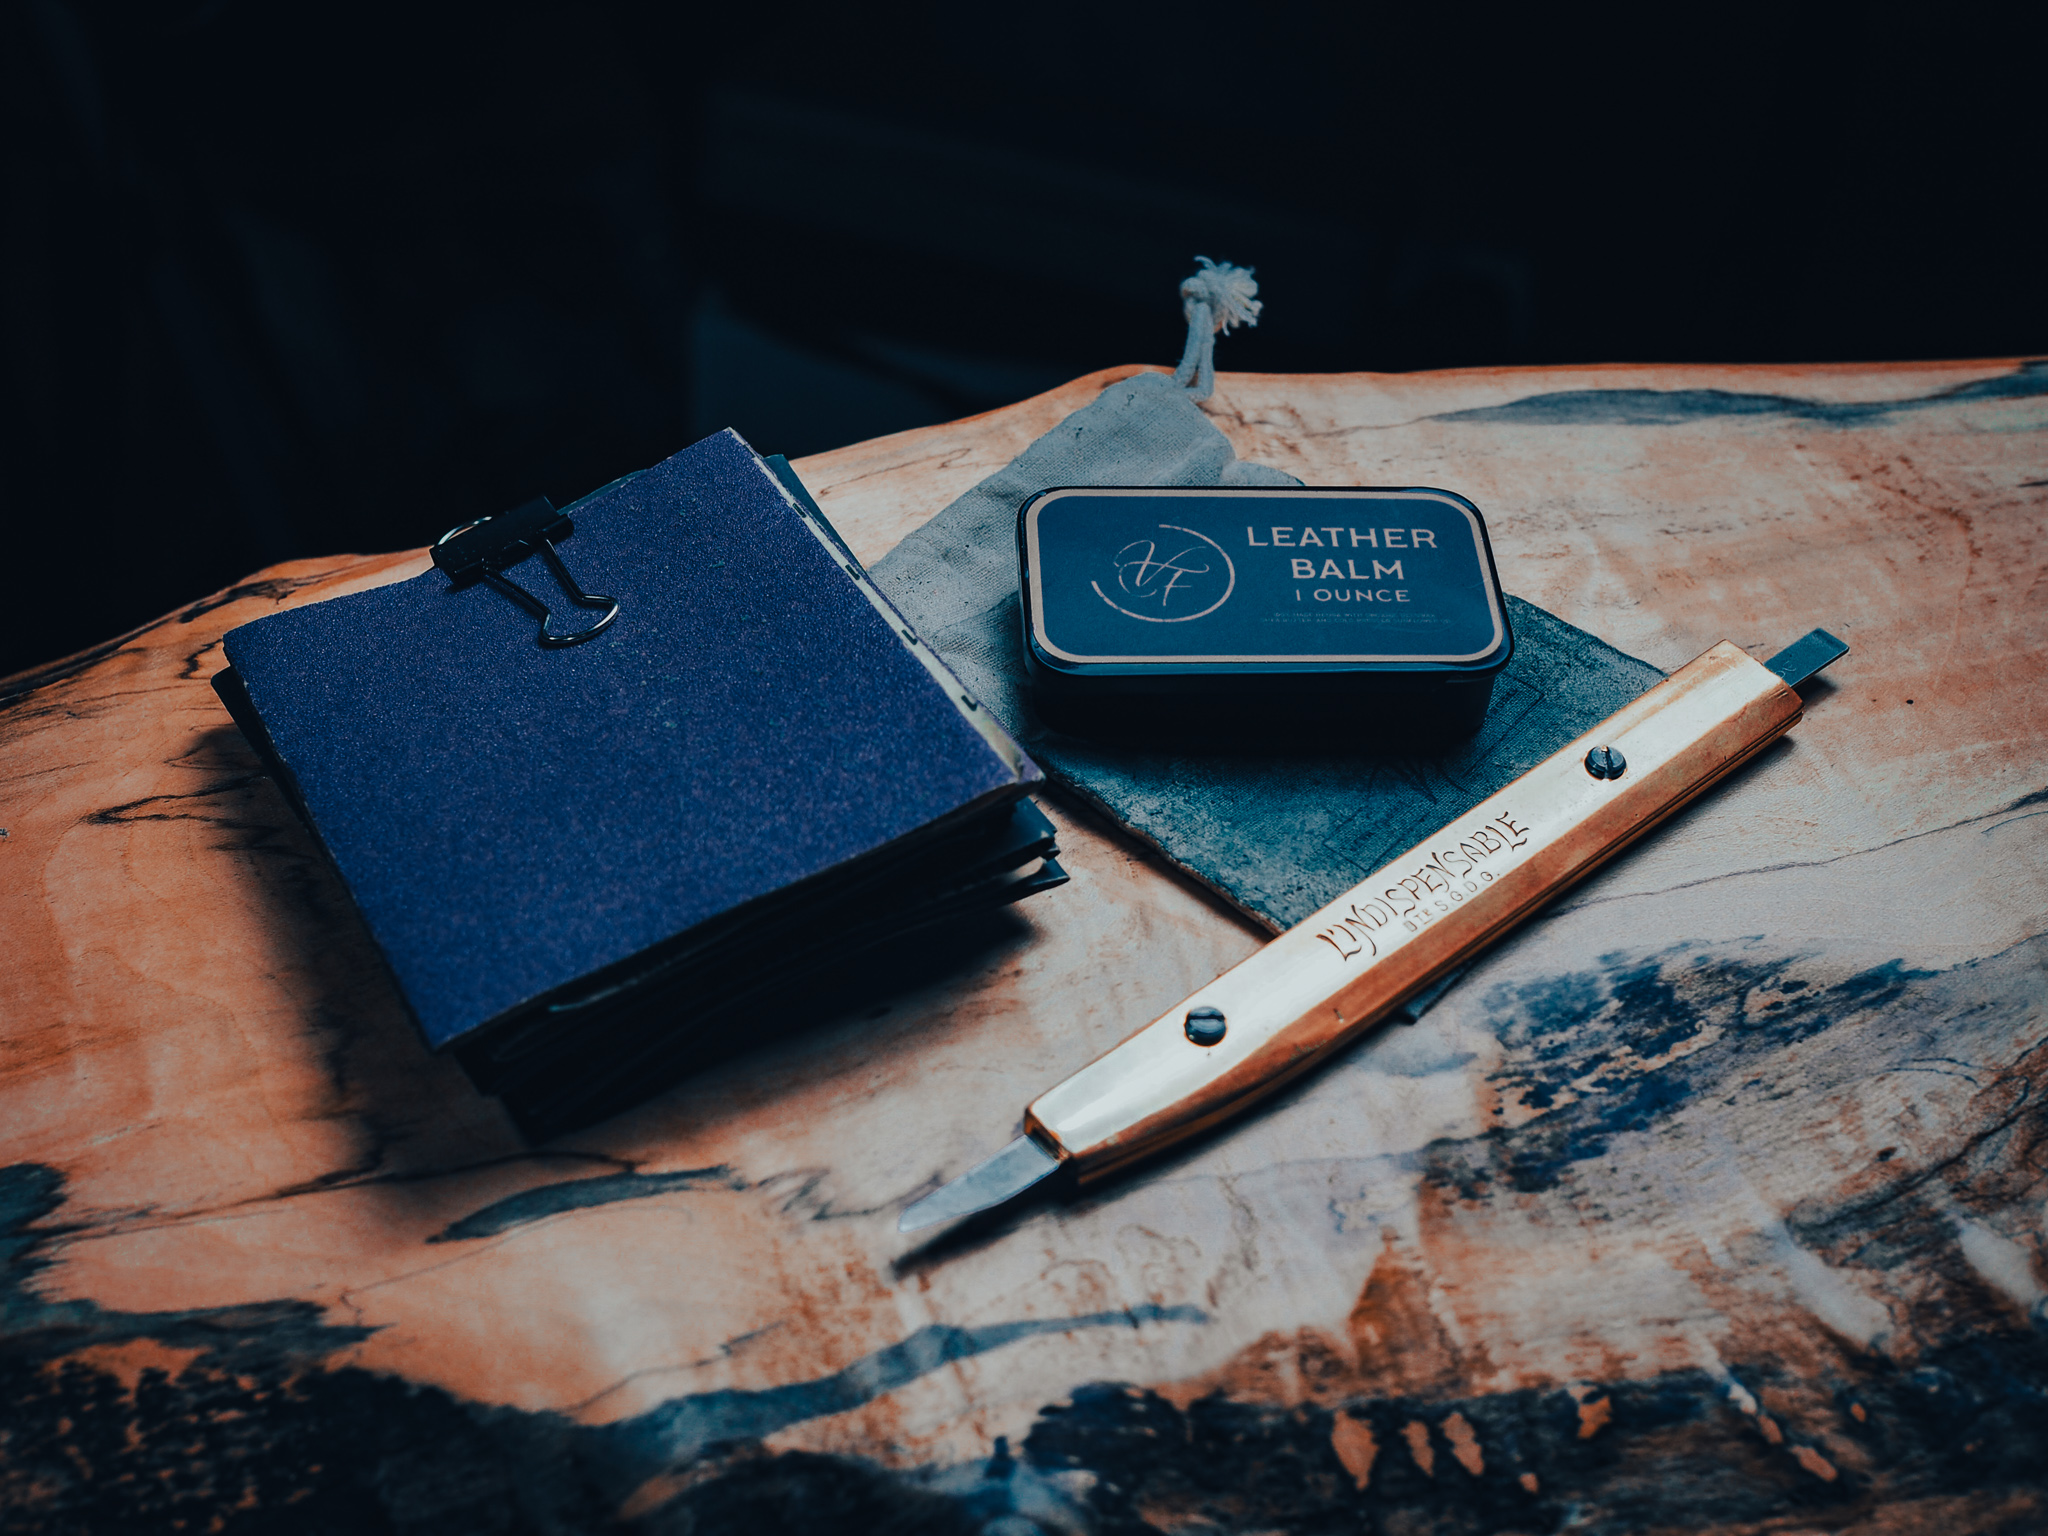
My Favourite Sandpaper: https://amzn.to/3u7aOC5
Finish All Your Leather Goods with Leather Balm
Going that extra mile makes your leather goods just feel like more of a premium product. Applying a leather balm softens the leather up and hydrates it. Remember that leather sits on a shelf drying out until it is used. It’s thirsty! Regularly moisturizing leather products will help them last generations.
How to Apply Leather Balm
- Apply the leather balm using your finger or a rag (I just use my fingers)
- Remember that a little goes a long way – you don’t need to cake it on.
- Wait for the leather to soak up the balm
- Apply another coat if necessary – If it still looks dry, just add some more. Several thin coats is better than one heavy-handed coat
- Buff it with a horse-hair brush (I think this is optional. Some leather workers don’t, but I think it looks better if you hit it with the brush)
- Re-apply leather balm whenever the leather gets dry to ensure a long lasting product
What Leather Balm Should I Buy?
There are a lot of good leather balms on the market, as well as well as it’s fairly easy to go the DIY route (although the leather balm I’ve purchased has been way better than the balms I have made). The most popular leather balm is Smith’s. It’s really good stuff at a decent price.
My preferred leather balm is from Vera Forma Leather Works. I find that his is less waxy and soaks into the leather a bit better than most of the other stuff. It works really well on my boots.
Vera Forma Leather Balm: https://amzn.to/3u51Vca
Use These Leather Craft Tips on One of my FREE PDF Templates!
If you weren’t aware, I have a bunch of free PDF leather patterns available for free right here! Each one has a video to show you how I do it, if you need, and the page will tell you everything you need to make them.


Add comment