


When new leather workers first get started, they usually start by learning how learning how to leather work, learning about leather, buying their first tools and leather, and then they start downloading templates/patterns. One crucial skill after you download a bunch of projects is learning how to cut out a leather work pattern to get started making things.
There Are Different Ways to Cut Out a Leather Work Pattern?
Yes! Well… sort of. I mean you still use a knife for most of them, but there are more efficient ways of doing it than others.
In this article we’ll go over the three methods that I mention in the video as well as three others that aren’t mentioned in the video (and are quite a bit more expensive).
3 Ways to Cut Out a Leather Work Pattern by Hand
As I mentioned earlier, all three of these methods of cutting out a leather work pattern by hand involve you, a nice sharp knife, and some leather. There are different ways of marking where you’ll be cutting, though.
Method 1 – The Paper Method
This is generally the first method you will use. Most patterns come as a PDF and you can easily print them out, tape them down to your leather, and cut along the lines.
There are a couple things to keep in mind if you go this route:
- Print at 100% scale. This is very important. If you print your template and it scaled to fit the page, things aren’t going to fit properly.
- Make sure the paper is flat against the leather. It can sometimes bubble up a bit. I find holding it down in the middle and taping one edge at a time, smoothing the paper out after taping each edge helps. If the design is big enough, you can cut holes in the middle unused part of the paper pattern and tape it down if you need.
- Make sure you use masking tape or painter’s tape and remove it immediately following cutting out the shape to stop it from leaving any residue on your leather.
Method 2 – The Cereal Method
This one is nice because you end up with a leather work pattern that you can reuse a bunch of times without having to print out the pattern each time.
To make one of these, print out the pattern and glue it to a piece of cardboard. Now cut it out just like you did in Method 1. Now you have a template that you can place onto your leather then just scratch around it with your scratch awl. This transfers the design directly to your leather and its a bit easier to cut out than it is with paper taped over top.
You can also make a reusable template out of a piece of leather. Just cut out the piece of leather you need and hang onto it to use as a leather template. I like the cardboard and the next method better, but I do have a few leather ones kicking around my shop.
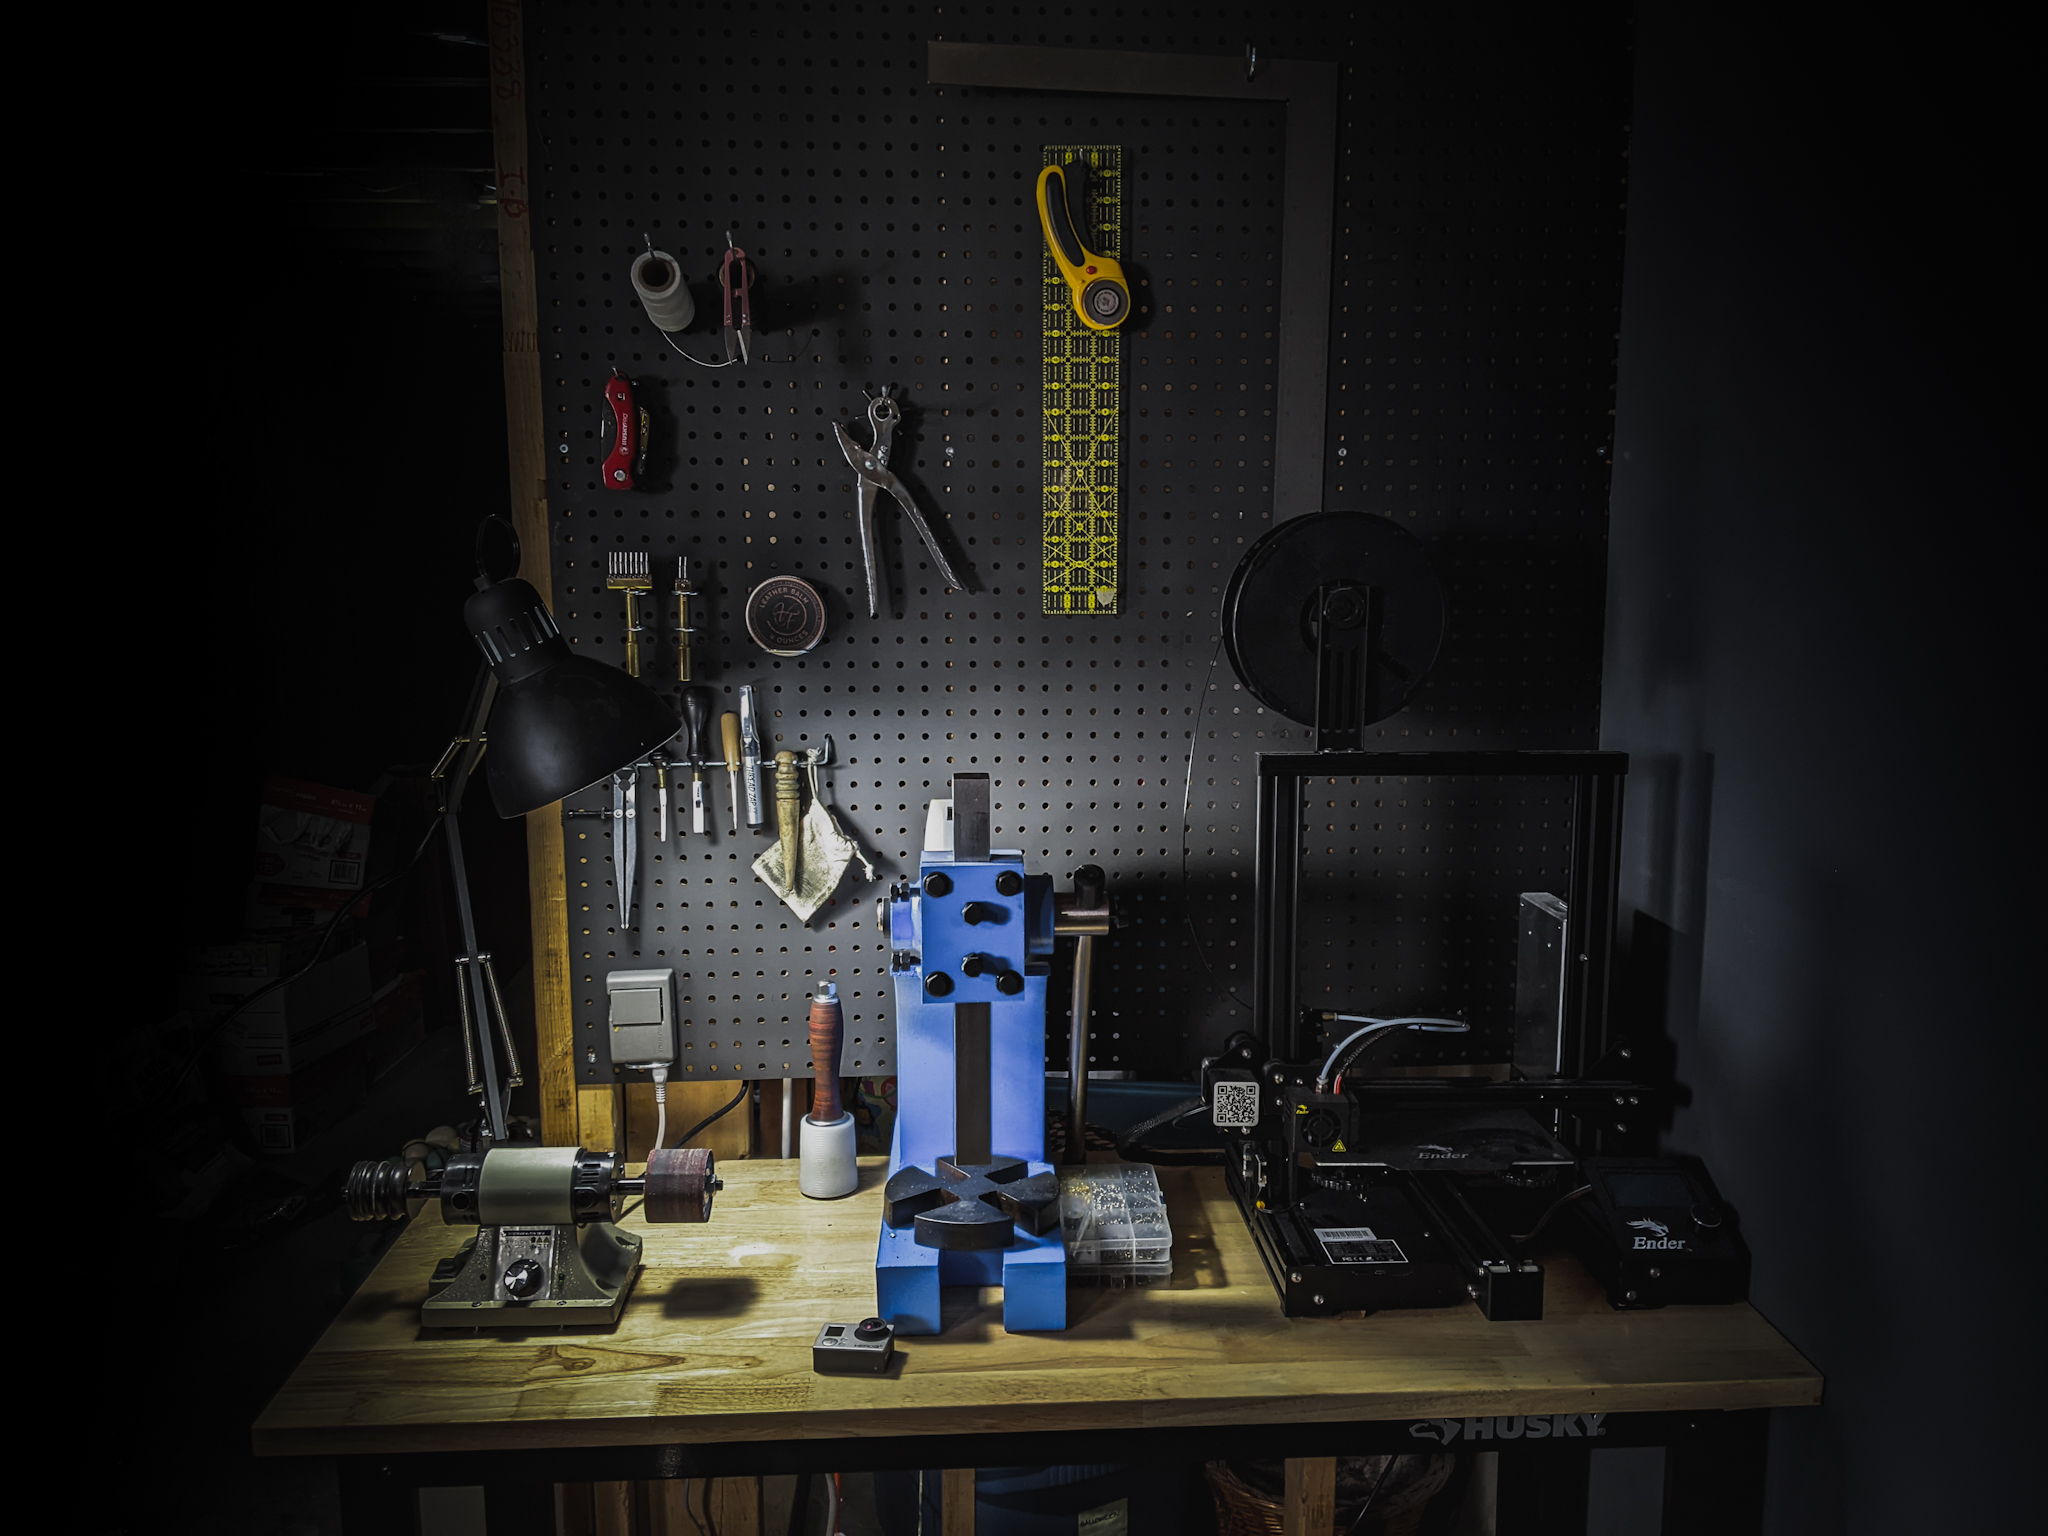
Method 3 – The 3D Printer Method
I love this one. It’s easily my favourite way to cut out a leather work pattern. It is quite a few steps and a bit of work to get there, but what you’re left with is a leather template that you can use over and over again. This thing probably will never wear out unless you melted it or something.
For this, you’ll need a 3D printer, as well as a few pieces of software involved in turning the pattern into instructions for the printer. You will need:
- A vector graphics program such as Inkscape or Adobe Illustrator. Inkscape is free.
- A CAD program used to turn the vector into a 3D object. TinkerCad and Fusion 360 are both free to use.
- A Slicer which is used to turn a 3D object into instructions for a 3D printer. I use Cura, which is free to use.
It’s probably easiest to get a feel for the process by watching the video or searching how to do each step on YouTube.
You need to first get a pattern. Load this into your vector graphics program and delete any parts you don’t need. Save this as an SVG file.
Now load the SVG into your CAD program and convert this into a 3D object. For leather templates, I usually make them 4mm thick but do whatever you want. Save this as an STL file.
Finally, load this into your slicer of choice. I usually go with the standard setting, except I do 40% infill and a 4mm brim. This is something you kind of need to play with though.
After this, you’re ready to print! Once it’s done, you treat it exactly the same as the cardboard template, it just lasts longer.
If you’re interested in getting a 3D printer, I use a Creality Ender 3 Pro.
3 Other Methods to Cut Out a Leather Work Pattern
OK so I didn’t include these in the video because for one, I don’t have these things (yet), and two they’re a bit more expensive. But for those of you looking for a much quicker way of cutting out a leather work pattern, these are next level.
Cricut Maker 3
These machines are really cool. They actually aren’t anymore expensive than a 3D printer, starting at around $300.
You can grab one here.
I don’t actually own one, but I’ve seen one used for leather before. Think of them as a little CNC with a knife. It works by making multiple passes until it cuts all the way through.
The results are pretty good! It produces crisp edges and you can set it up to run while you do something else.
One down side is that the Cricut mat you put the leather on is sticky and if you have a really fuzzy flesh side on your leather, it makes a bit of a mess.
Clicker Press and Dies
This has to be the fastest way to cut out a leather pattern. The dies are basically cookie cutters in the shape of the pattern you want to use. You place this on top of your leather and then use a clicker press to cut the shape out in one pull of a lever. This method is super efficient, but also costly.
A clicker press can cost around $1500 and each die is costly as well, especially if you have a lot of components to your design.
You can use an arbor press with your dies, but you’ll just need to press the die in sections. This is still a pretty slick way of cutting them out.
The most common clicker press is by far the Mighty Wonder by Weaver.
As for dies, Milwaukee Steel Rule Dies and Bradshaw Steel Rule Dies both make an awesome die.
Frickin’ Laser Beams
Do people still make Austin Powers references?
This has got to be the coolest way of cutting out a leather work pattern, but also the most costly.
You will need a laser cutter machine which uses a gantry system to move a laser around and cut your design out. There are a few different types of lasers and products that you can use for this. The best type is a CO2 laser.
Probably the most popular CO2 laser is the Glowforge. It’s a desktop laser cutter that is perfect for leather work and is quite user friendly.
You can also get a more affordable (relatively speaking) laser from places like Vevor or eBay. The K40 laser is popular among the cheaper ones.
Not only can these things cut leather, but they can also engrave into it and even cut all your stitching holes. Overall if you can afford one, these will change the game for you.
⚒ TOOLS MENTIONED:
? SOFTWARE MENTIONED:
***Affiliate Link Disclosure***
As an Amazon Associate I earn from qualifying purchases.
This means that I make money on sales made through certain links at no additional cost to you.

Add comment