When I first started out, learning how to burnish leather was one of those things that I became fixated on. It’s kind of like saddle stitching in that you are always looking for a new way to either get a better result or become more efficient. To this day, I’m still looking for new ways to more easily get those glossy edges.
In my journey to find the best method to burnish leather edges, this is what I have learned and is my current method:
How I Burnish Leather Edges
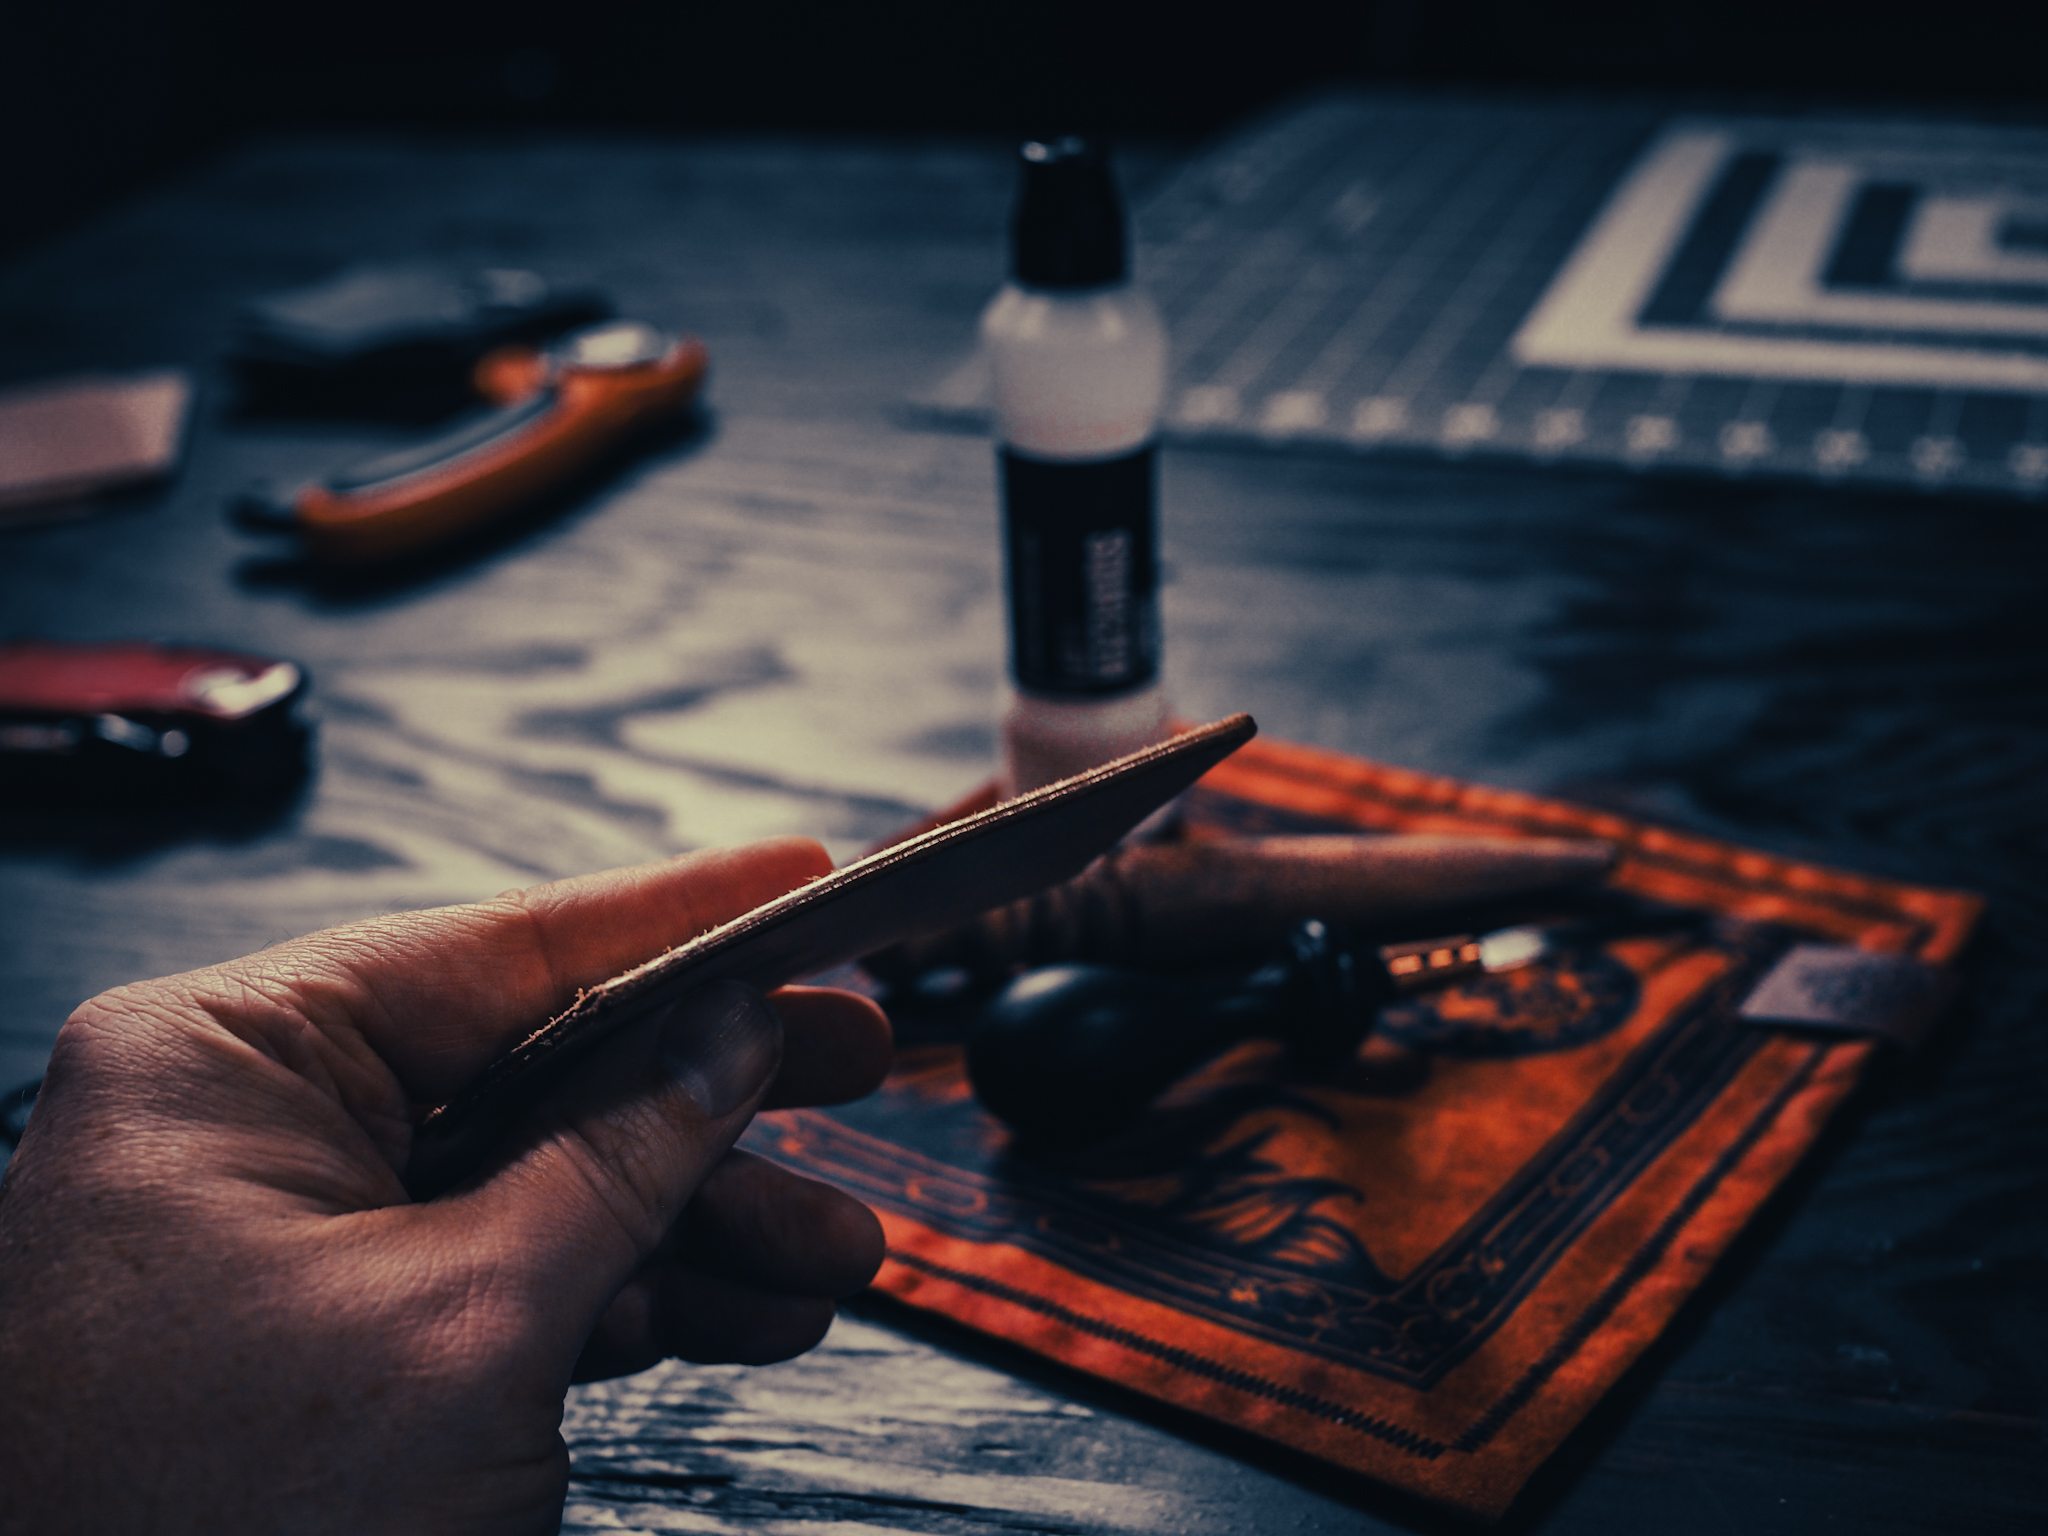
- Get your edges flush. If your edges aren’t flush to begin with, you will either need to sand them forever to get them there or you just won’t get a good end result. Use a sharp knife or rotary cutter to get that edge completely flush and save yourself an extra hour of sanding.
- Sand your edges smooth. Don’t skip this step or be lazy about it. Ask anyone who burnishes leather to a high-gloss, candy edge and they will tell you that the key is in the sanding. Buy yourself a pack of various sandpaper grits and work your way through them. Start at a coarse grit and work your way up to the gone ones. I typically go until about 1000. This is the pack that I got off of Amazon.
- Bevel the edges. This stops the edge from mushrooming out when you burnish it. I like to sand using a couple coarser grits before I bevel the edges so that the beveler has a bit extra leather to sink its teeth into. Once you’ve beveled, continue sanding it down until you reach your destination grit.
- Finally, burnish the edge. I like to start by burnishing using my Tokonole marker and burnishing machine. Next, I sand it back down with 800-1000 grit sandpaper. Then, I hit it with a bit more Tokonole and burnish using a canvas cloth. I often sand it back down and reburnish with the canvas several times before I get it where I want it.
Some Leather Burnishing Tips:
Make sure that when you are burnishing, you go until you hear and feel “the click”. It’s hard to describe but you will know it when you hear it.
Also, remember that you don’t need to apply too much pressure. The goal is friction. Speed is more important.
Lastly, remember to make the process your own. This is what works for me, but may not be the ideal process for you. It’s important to figure out your own way and make the craft your own.





Add comment