


It’s been a while since I put out a free template! Templates is actually kind of where I started with this business. I started making wallet and card holder templates to sell on Etsy before I ever did YouTube. Then once I got hooked on making videos, I took my templates down off Etsy and started putting them out for free on YouTube (sorry people who bought them!). Anyway that’s enough of a Black Flag Leather History Lesson.
What You Will Need to Make the Money Flap Card Holder:
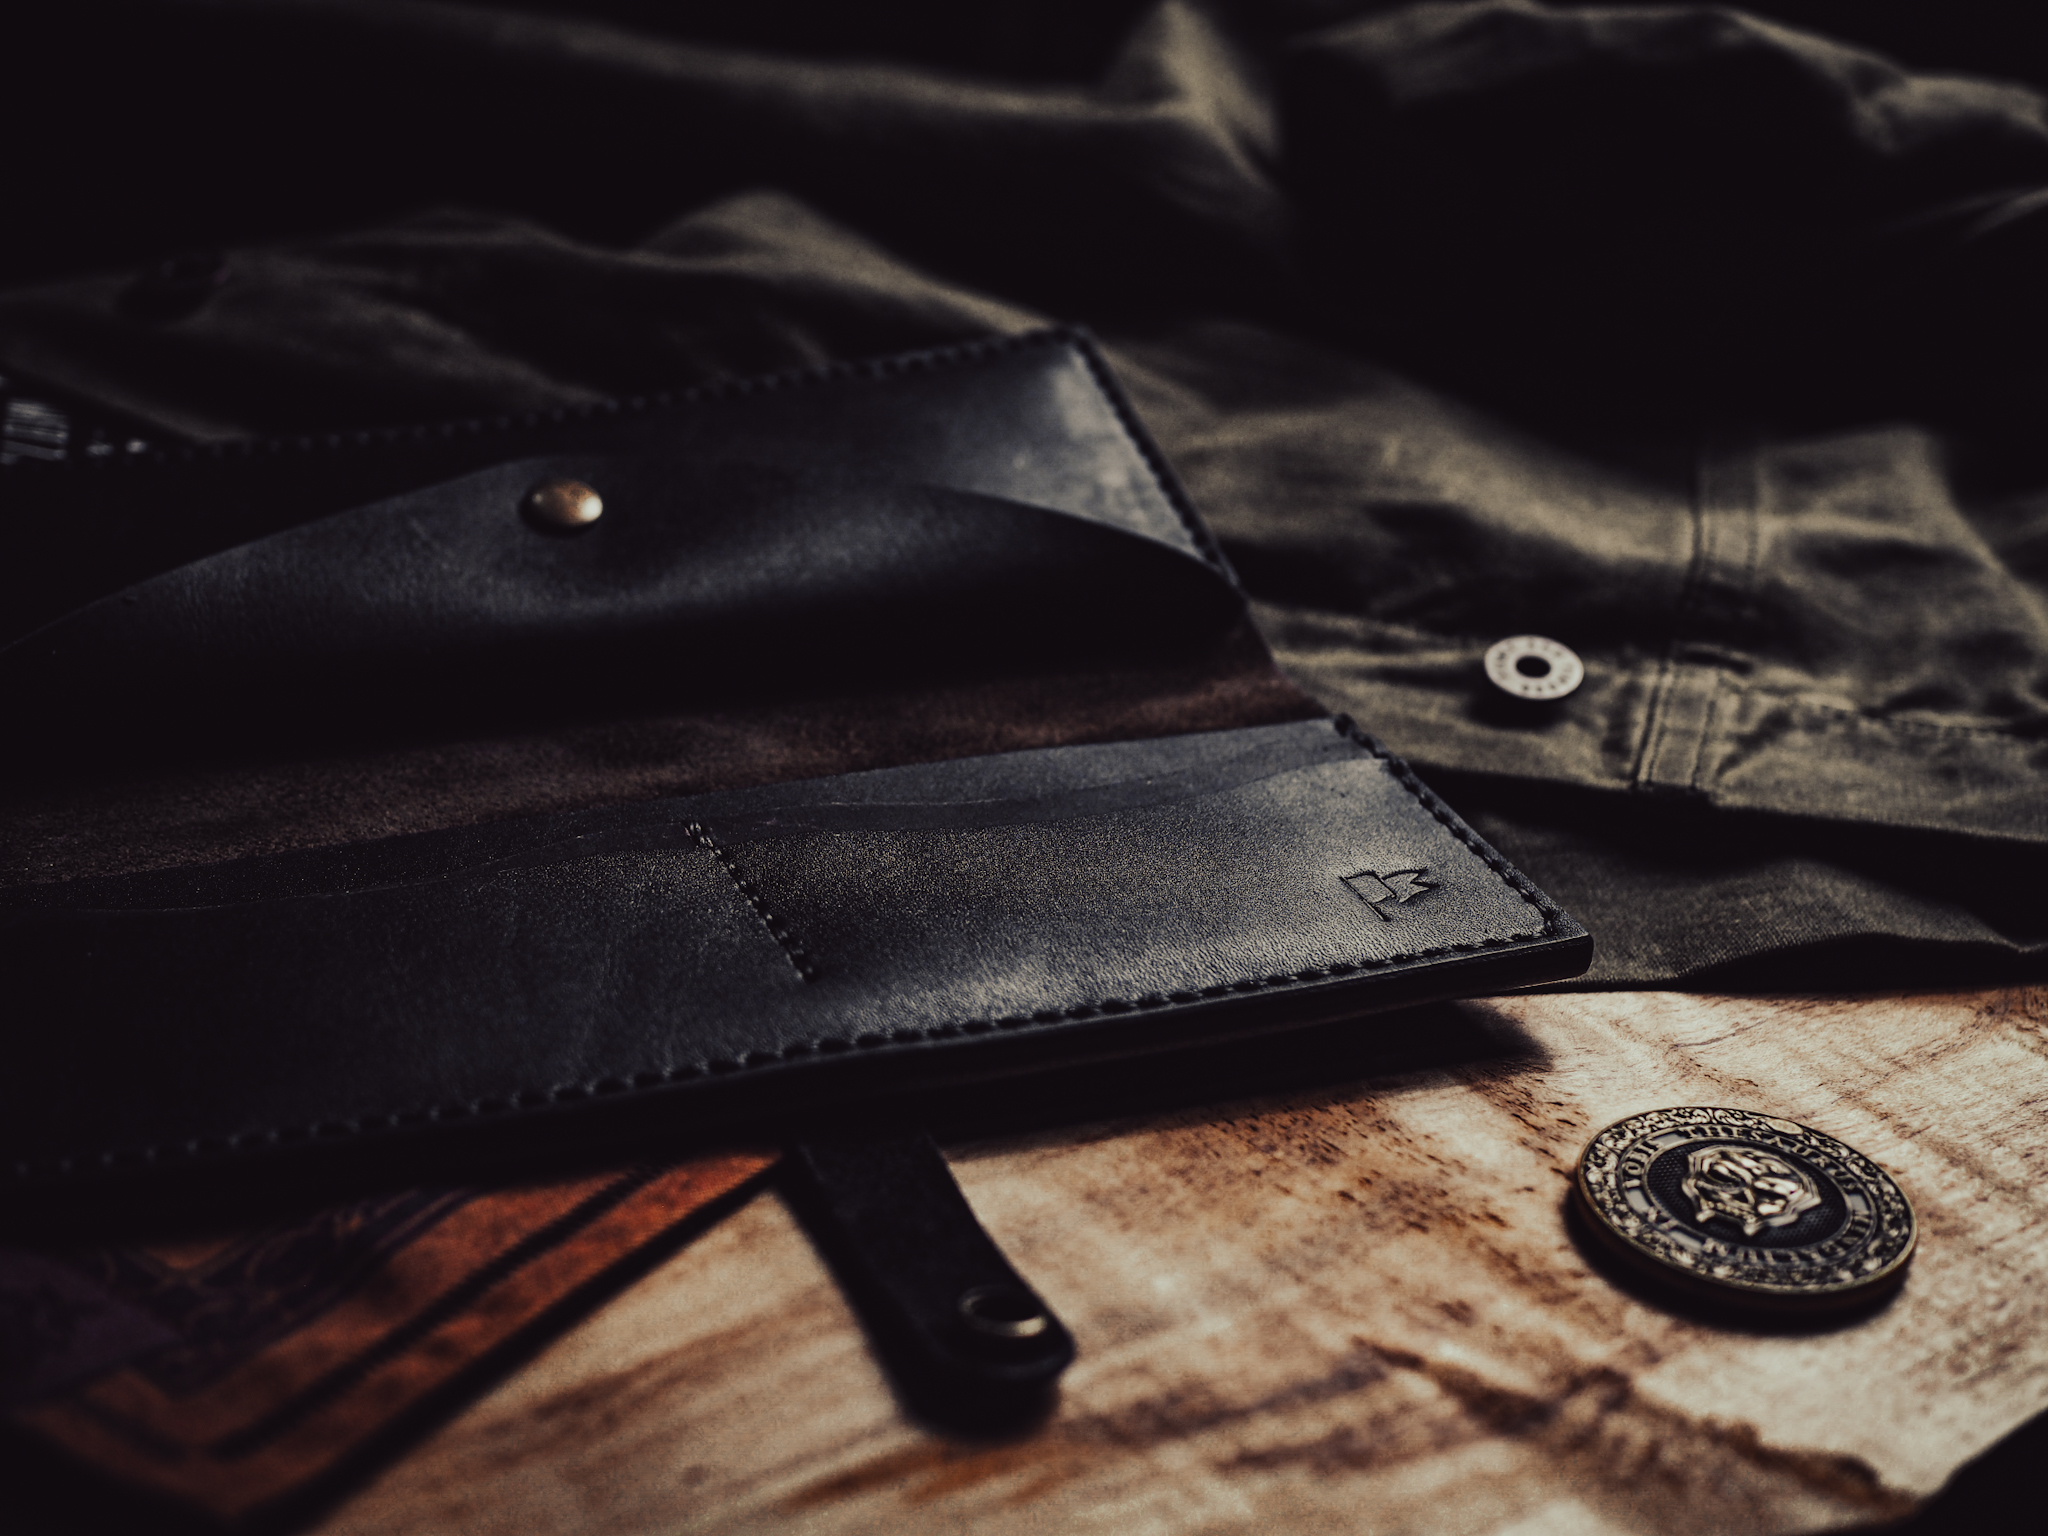
- Leather – I’m using these marbled bellies from Belts Production
- Basic Leather tools:
- A good pattern knife or something to cut out the parts
- Some sandpaper – I use this pack from Amazon (it’s dirt cheap and you get a bunch of different grits)
- A stitching punch/chisel to make stitching holes – I use Sinabroks Stitching Punches
- Your favourite thread – I like Ritza Tiger Thread
- Glue
- Wood Slicker
- Tokonole
- You get the idea…
The Instructions:
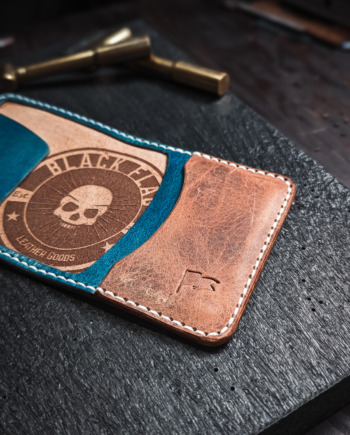
Honestly, this template is super easy. It’s three pieces that get slapped on top of each other. The best instructions I can give you to put it together is to just watch me do it in the video.
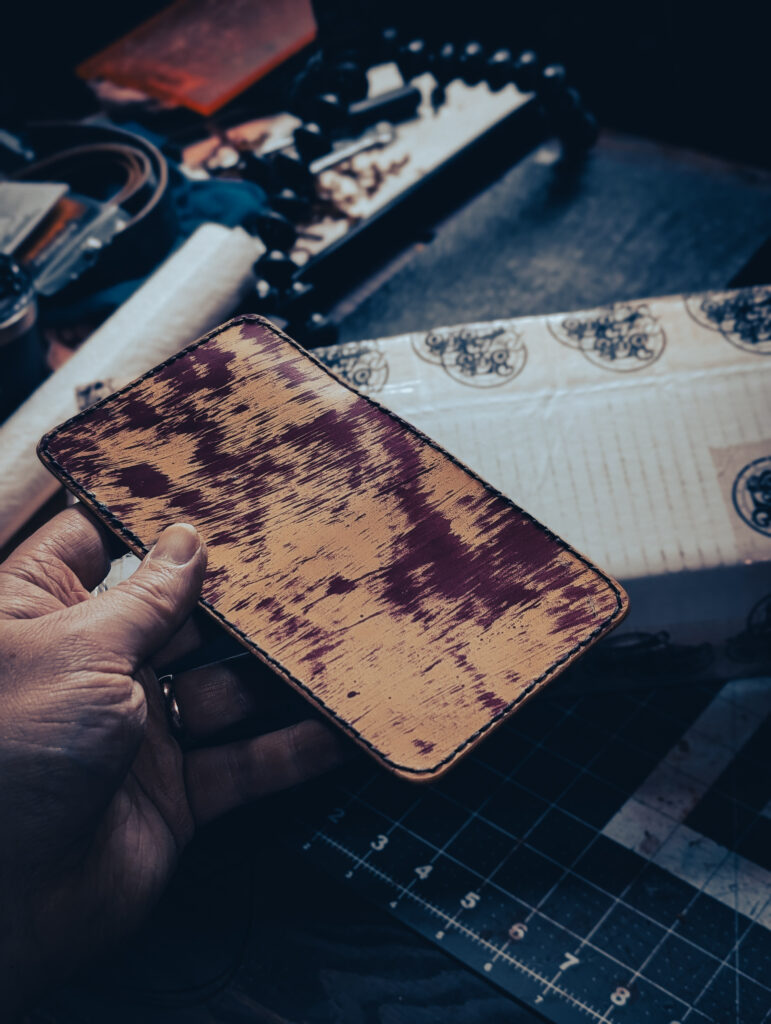
The one important thing I want to stress is: make sure you burnish the cash flap and the pocket tops before you put anything together! It’s a pain in the butt if you forget.
Also! The pocket is meant to overlap the t-slot pocket by about 2mm. I hate having a gap between pockets. I like to use the method from the video that I got from STR Handmade or skive the edge so it’s not too bulgy. If you don’t like this, put the pocket on with it hanging off the back end then trim it afterward.
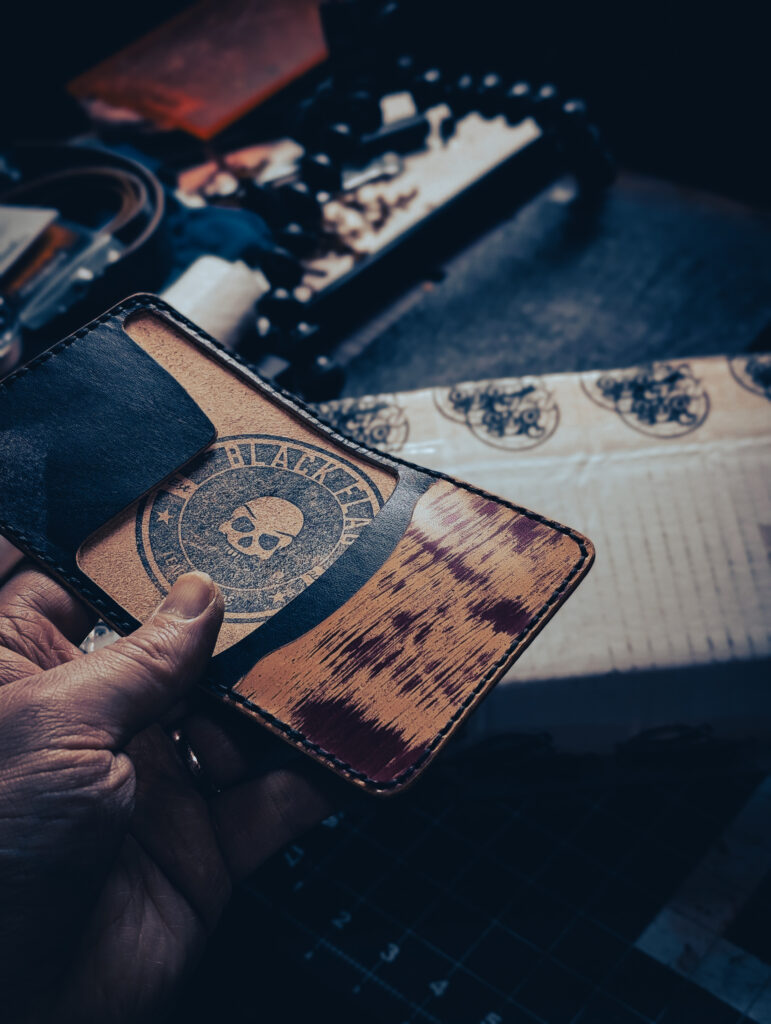
- Download and Cut the Template: Grab the free template down below. Print it at 100% scale (this is important) , trace it or tape it onto your leather, and cut out the three pieces using a sharp knife the way you normally would.
- Burnish Key Edges: Before assembling, burnish the cash flap and the tops of the pockets. This step is critical for a polished look and functionality (it helps cards slide in and out easier) and is much harder to do once the card holder is assembled. Use sandpaper, a wood slicker, and Tokonole for smooth, professional edges.
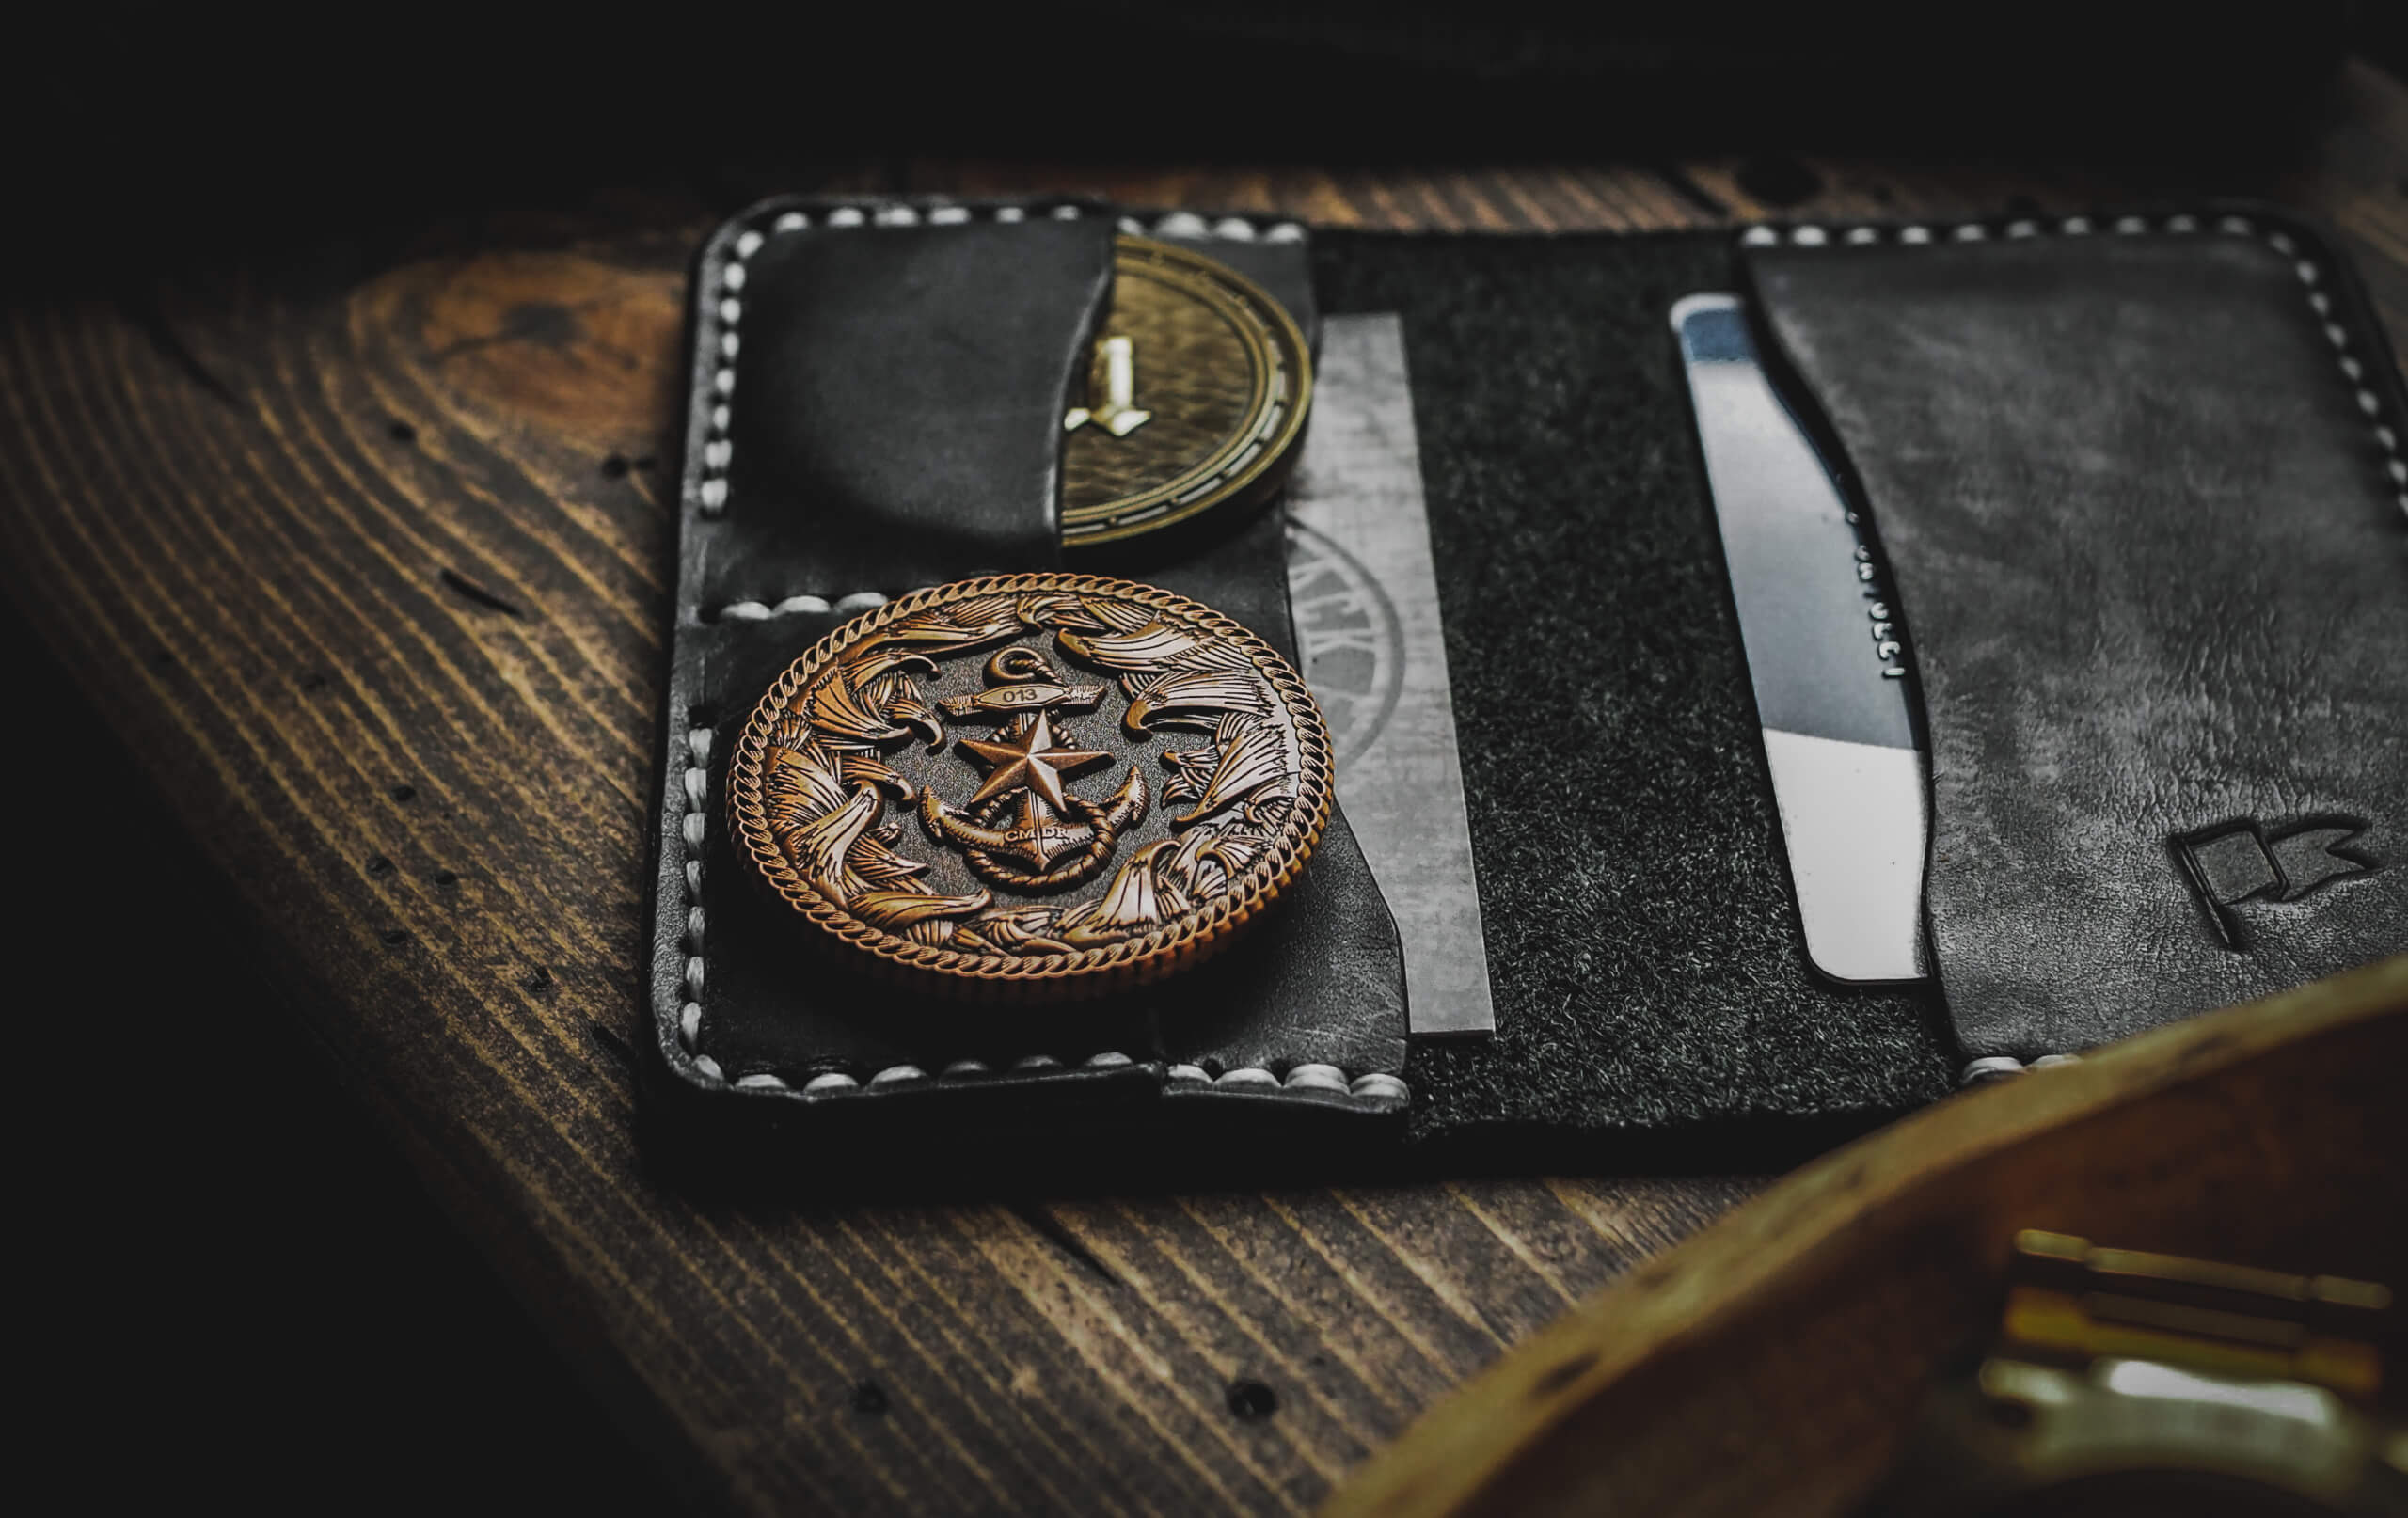
- Assemble the Pieces: The card holder comes together by layering the three pieces. Apply leather glue to secure the pieces in place, ensuring the pocket overlaps the t-slot pocket by about 2mm. This overlap prevents gaps between pockets. As mentioned above, I cut a 45-ish degree notch in the t slot and pocket so that the two slot together with no gap or bulge. You can also skive them down to reduce bulk. If you don’t like either method, just butt the pocket top against the t slot and trim the 2mm off the bottom.
- Stitch It Up: Use a stitching punch to create even holes, then saddle stitch.
- Final Touches: Sand and Burnish any remaining edges and apply Tokonole. Your card holder is now ready to use!
The Free Template:
Here you go! Enjoy the free template. Use it however you want – make the wallets and sell them. I hope you make money on them.
If you have any questions, shoot me an email.
*I’ll be making a 3D printer template, I just haven’t finished it yet.
Add comment