


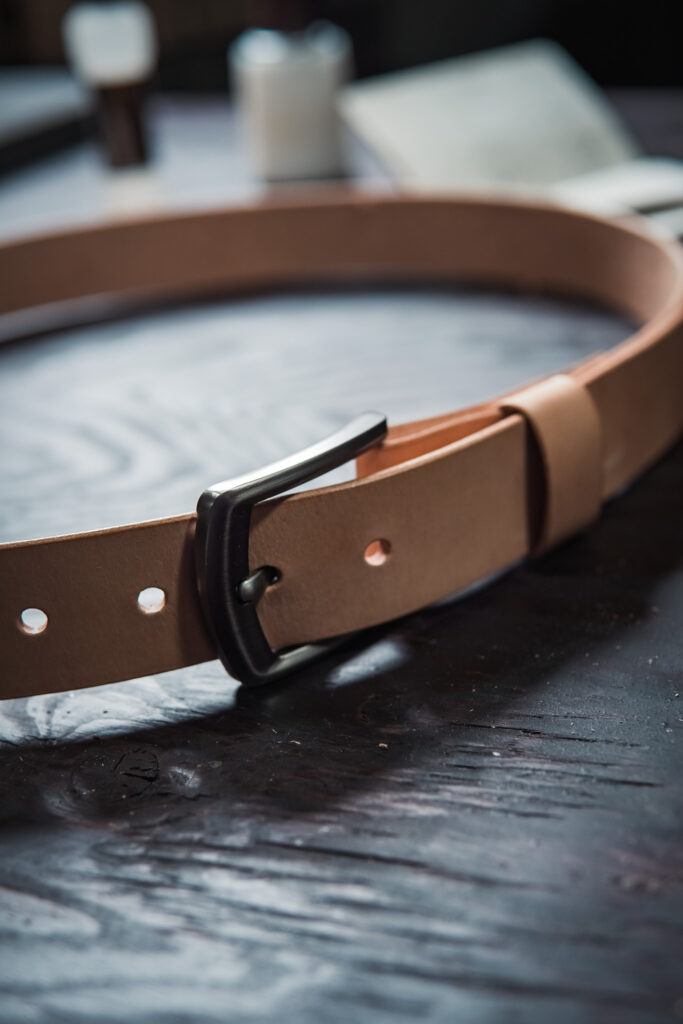
If you’ve ever wanted to make your own leather belt, this is the perfect project to start with. Belts are practical, stylish, and one of the best beginner leatherworking projects because you’ll learn essential skills like measuring, cutting, edging, punching holes, and finishing leather.
In this guide, I’ll walk you through how to make a leather belt step by step, and you can also follow along with my YouTube leather belt tutorial (video linked below). By the end, you’ll have a durable, handmade leather belt that looks professional and will last for years.
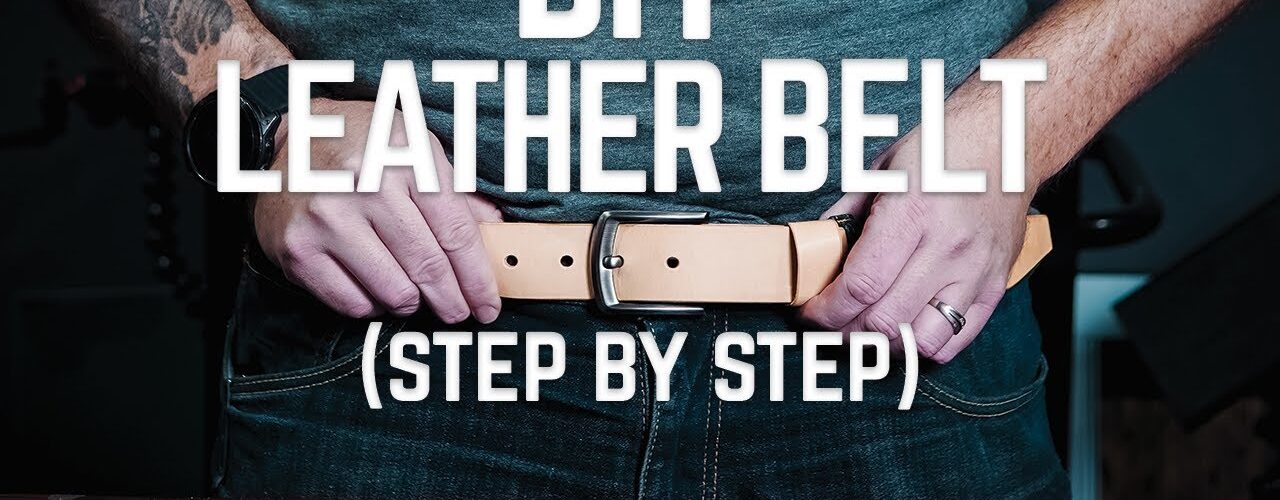
👉 Watch the Full Leather Belt Tutorial on YouTube
Why Make Your Own Leather Belt?
A handmade leather belt isn’t just another piece of clothing — it’s a functional accessory that showcases craftsmanship and style. Unlike mass-produced belts, a DIY leather belt can be customized to your size, buckle preference, and finish.
Plus, this project teaches you the foundations of leathercraft, so you’ll be more confident tackling bigger projects in the future.
Tools and Materials You’ll Need
Here’s a list of what you’ll need for this DIY leather belt tutorial:
Vegetable-tanned leather strap (8–9 oz is ideal)
Belt buckle of your choice – I used this one: https://amzn.to/42AwpDB
Hole punch or rotary punch – I like the Boehm Hole punch: https://leathertools.ca/products/boehm-twinnable-washer-and-hole-punch
Edge beveler – I use a Palosanto Beveler. It’s pricey but this is a good budget option: https://amzn.to/4ofHDFQ
Mallet or Maul – I use a maul by Owden: https://amzn.to/3IGGXKJ
Ruler
Strap Cutter: https://amzn.to/48mU9id
Rivets or Chicago screws – I used these: https://amzn.to/4qbsvLy
Edge burnisher – Go with a wood slicker like this: https://amzn.to/47jJzax or if you want to invest in a really good but affordable leather burnishing machine, check this one out: https://amzn.to/4q4DIx9
These are the same beginner leatherworking tools I use in my workshop and in the video.
Step-by-Step: How to Make a Leather Belt
- Measure and Cut
Measure your waist size (or the belt size you need) and cut your leather strap accordingly. A standard belt is usually around 1.25″ to 1.5″ wide.
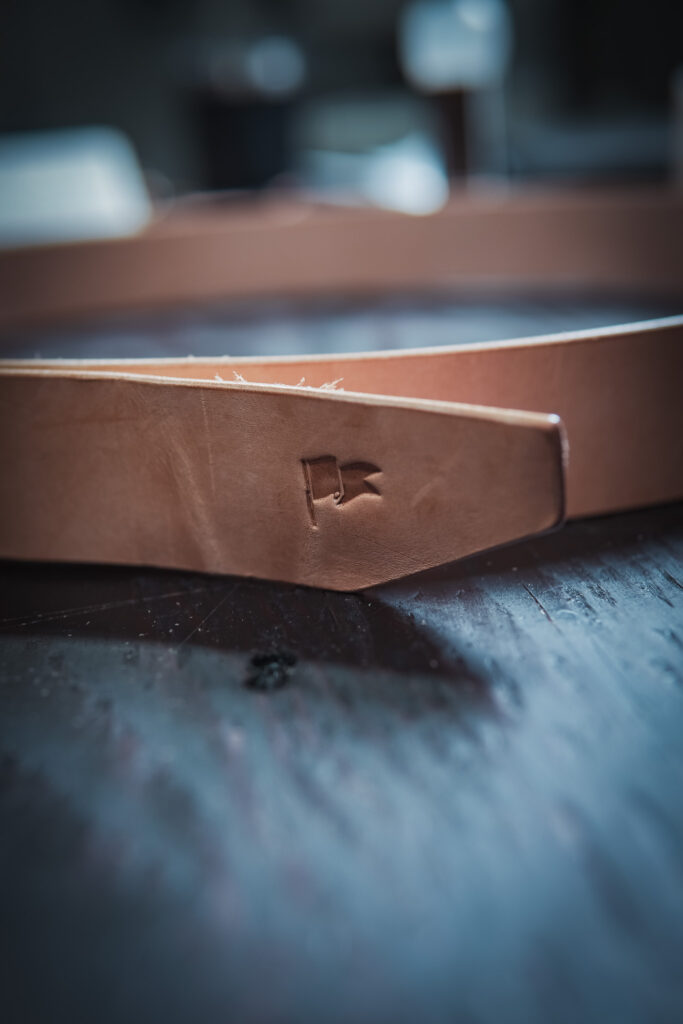
- Bevel and Smooth the Edges
Use an edge beveler to round the edges of the strap, then smooth with a burnisher for a clean, professional look. For an extra smooth edge, sand it down progressively through several grits of sandpaper. I went 320, 400, 600, 800 for this belt.
- Punch Holes
Punch a hole for the buckle tongue and additional holes for fastening. A typical belt has 5–7 holes spaced about 1″ apart. I have put a belt hole template at the bottom of this page for easy reference.
- Attach the Buckle
Secure your buckle using rivets or Chicago screws. Make sure it’s tight and properly aligned.
- Finish the Belt
Apply leather dye (if desired) and seal with a leather finish. This step adds durability and gives your handmade leather belt a polished look. For this belt, I left it as a natural veg tan to pick up that beautiful natural patina over time.
Watch the Video Tutorial
Sometimes it’s easier to see the process in action. That’s why I created a full YouTube leatherworking tutorial for this project. You can watch me go step by step and follow along at your own pace:
👉 Click here to watch the Leather Belt Tutorial on YouTube
Final Thoughts
Learning how to make a leather belt is one of the best ways to start your journey in leathercraft. It’s simple enough for beginners, but the end result is a durable, handmade belt you’ll actually use every day.
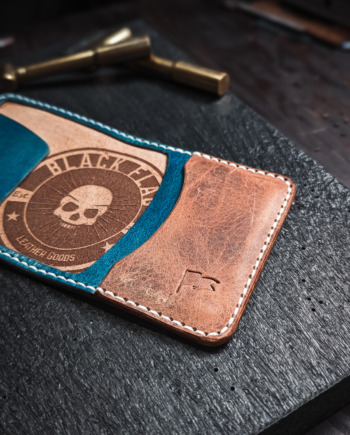
If you enjoyed this tutorial, check out my channel, Black Flag Leather, where I post more leatherworking tutorials, DIY leather projects, and beginner leathercraft guides.
👉 Subscribe here: Black Flag Leather Goods


Add comment